That sinking feeling. You’re in the middle of a cleaning frenzy, and suddenly, your trusty vacuum cleaner sputters to a halt, flashing a cryptic series of lights. If you’re wondering How To Troubleshoot Vacuum Cleaner Error Codes, you’re not alone. It’s like your machine is trying to tell you something, but it’s speaking a language you don’t understand. Don’t panic and don’t rush to the repair shop just yet. We’ve all been there, and the good news is that most of these errors are surprisingly easy to fix yourself. This guide will turn you into a vacuum whisperer, ready to decode those signals and get back to a spotless home in no time.
Decoding the Blinking Lights: What Is Your Vacuum Trying to Tell You?
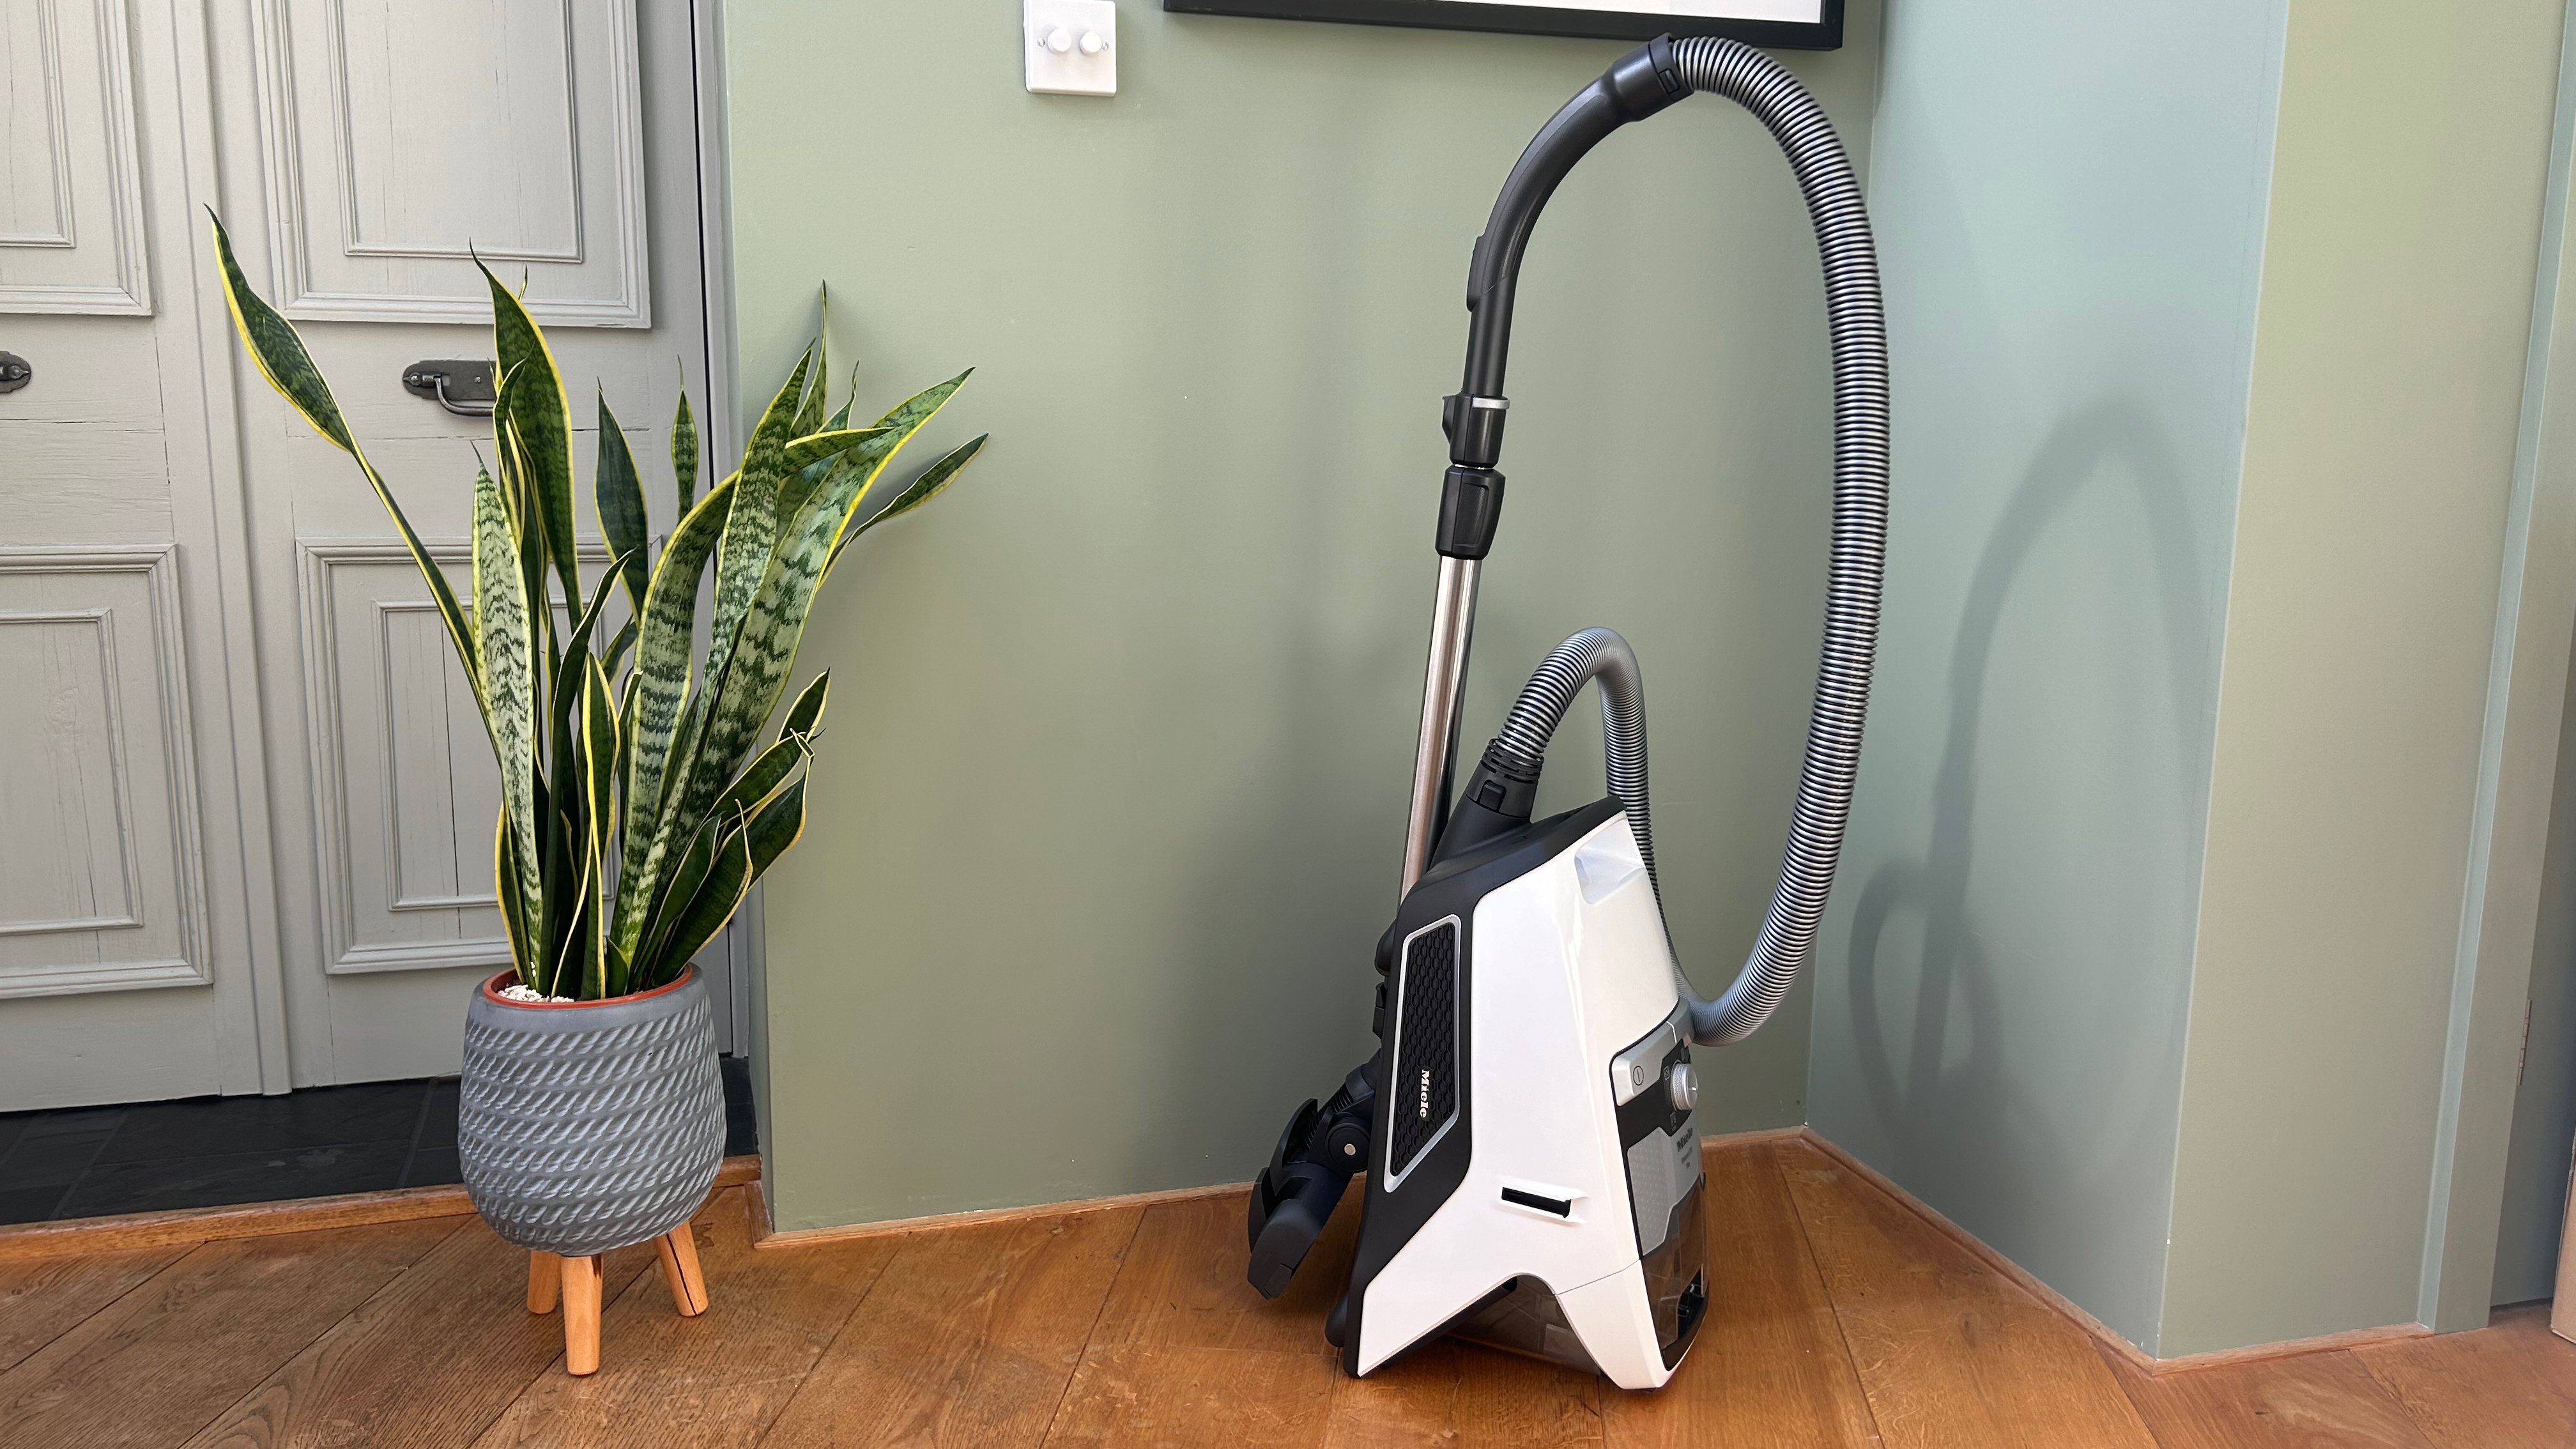
Before we dive into the nitty-gritty, let’s get one thing straight: an error code isn’t a death sentence for your vacuum. Think of it as a helpful notification, a specific message from the machine’s internal sensors saying, “Hey, something’s not quite right over here!” Different brands—from Dyson to Shark to Roomba—use different light patterns or digital codes, so your first port of call should always be your user manual. Lost it? A quick search for your model number online will usually bring up a digital copy.
However, across almost all models, these error codes point to a handful of common culprits. Understanding these core issues is the key to solving 90% of your vacuum cleaner woes.
Common Culprits Behind Error Codes and How to Fix Them
Ready to play detective? Let’s investigate the most frequent issues that trigger those frustrating warning lights. We’ll start with the most common and work our way down. Remember to always unplug your vacuum cleaner (or remove the battery from cordless models) before performing any maintenance.
The Dreaded Airflow Blockage
This is, without a doubt, the number one reason a vacuum throws an error. The machine’s sensors detect that air isn’t moving freely, which can cause the motor to overheat and lose suction power. The blockage could be anywhere from the cleaning head to the dustbin.
Here’s how to find and clear it:
- Check the Dustbin/Canister: Is it full? An overstuffed bin is the simplest form of blockage. Empty it completely and see if the error disappears.
- Inspect the Hoses: Detach the main wand and any flexible hoses. Look through them—a flashlight can be a huge help here. Often, a clump of pet hair, a stray sock, or a child’s toy is the offender.
- Examine the Floor Head: Flip the main cleaning head over. Look for any obstructions in the channel that leads from the brush roll up into the wand.
- Clear the Clog: For soft clogs, you can often pull them out by hand or with a pair of pliers. For deeper clogs, a broom handle or a straightened wire coat hanger (be gentle!) can be used to push the debris through.
The Clogged or Dirty Filter
Your vacuum’s filters are its lungs. If they get clogged with fine dust and dander, the machine can’t “breathe.” This severely restricts airflow, puts a massive strain on the motor, and will almost always trigger an error code. Many modern vacuums use HEPA filters to capture allergens, and keeping them clean is vital for both performance and air quality.
“A clean filter is the single most important factor for maintaining peak suction and extending motor life. We see more motors burn out from neglected filters than from any other cause.” – John Carter, Lead Product Engineer
How to clean your filters:
- Locate Them: Check your manual to find all the filters. There’s usually a pre-motor filter near the dustbin and a post-motor (or exhaust) filter.
- Tap it Out: For most non-washable filters, take them outside and firmly tap them against the inside of a trash can to dislodge the caked-on dust.
- Rinse if Washable: Many filters are designed to be rinsed with cold water. Never use soap. Allow the filter to air dry completely for at least 24-48 hours before reinstalling it. A damp filter can lead to mold and damage the motor.
How often should you clean a vacuum filter?
As a general rule, you should clean your vacuum’s filters at least once a month. If you have pets or deal with a lot of dust, you might need to do it more frequently. Check your manufacturer’s recommendation for the most accurate schedule.
The Tangled Brush Roll
Is your error light accompanied by a change in sound or a brush that refuses to spin? You likely have a tangled brush roll (also called an agitator or beater bar). Long hair, string, and carpet fibers are notorious for wrapping themselves tightly around the brush, preventing it from rotating. This can trip a sensor or cause the motor to shut down to prevent damage.
How to untangle your brush roll:
- Access the Brush: Lay the vacuum down to get a clear view of the floor head. You may need to unscrew or unclip a base plate to remove the brush roll completely.
- Snip and Pull: Use a pair of scissors or a seam ripper to carefully cut through the tangled hair and fibers. Be very careful not to cut the bristles themselves.
- Clear the Ends: Pay close attention to the ends of the brush roll, where hair often collects around the bearings or caps.
- Check the Belt: On some older or upright models, check the drive belt. If it’s broken, stretched out, or slipped off, it will need to be replaced.
Battery and Charging Errors (For Cordless Vacuums)
For those who love the freedom of a cordless vacuum, error codes are often related to the battery or charging station.
- Dirty Contacts: Check the metal contact points on the battery, the vacuum, and the charging dock. Wipe them with a dry microfiber cloth to ensure a solid connection.
- Overheating: Did you just finish a long cleaning session? The battery might be too hot to charge. Let it cool down for 30-60 minutes before placing it back on the charger.
- Faulty Charger: Make sure the outlet is working and the charger is properly plugged in. Sometimes the issue is with the power source, not the vacuum.
- End of Life: Like all rechargeable batteries, vacuum batteries degrade over time. If your vacuum dies quickly and constantly shows a battery error, it might be time for a replacement.
|
Our Picks for the Best Vacuum Cleaner in 2026
As an Amazon Associate, we earn from qualifying purchases.
|
||
| Num | Product | Action |
|---|---|---|
| 1 | Amazon Basics Upright Bagless Vacuum Cleaner for Carpet and Hard Floors, With Crevice and Upholstery Tools, Detachable Handle, Lightweight (8.4 lbs), 1.7L Dust Cup, 720W, 25ft Cord, Black/White |

|
| 2 | Shark | Pet Cordless Vacuum Cleaner | LED Headlights | Removable Handheld Vacuum for Pet Hair | Crevice Tool & Pet Multi-Tool Included | 40min Runtime | For Carpet & Hard Floors | Grey | IX141 |
|
| 3 | Shark NV352 Navigator Lift Away Upright Vacuum, Hepa Filter, Anti-Allergen Technology, Swivel Steering, Ideal for Carpet, Stairs, & Bare Floors, with Wide Upholstery & Crevice Tools, Lavender |
|
| 4 | BISSELL CleanView Compact Turbo Upright Vacuum with Quick Release Wand, Full Size Power, Compact Size for Apartments & Dorms, 3437F |
|
| 5 | BISSELL CleanView Compact Upright Vacuum, Fits in Dorm Rooms & Apartments, Lightweight with Powerful Suction and Removable Extension Wand, 3508 |
|
| 6 | Shark HV322 Rocket Deluxe Pro Corded Stick Vacuum with LED Headlights, XL Dust Cup, Lightweight, Perfect for Pet Hair Pickup, Converts to a Hand Vacuum, with Pet Attachments, Bordeaux/Silver |
|
| 7 | BLACK+DECKER dustbuster AdvancedClean Cordless Handheld Vacuum, Compact Home and Car Vacuum with Crevice Tool (CHV1410L) |
|
| 8 | BLACK+DECKER dustbuster QuickClean Cordless Handheld Vacuum, Car Vacuum Portable (HNVC215B10) |
|
| 9 | Shark | Upright Vacuum Cleaner | Navigator Lift-Away | Swivel Steering | HEPA Filter | Vacuum for Pet Hair | Crevice Tool & Dusting Brush Included | For Carpets & Hard Floors | White/Silver | NV356E |
|
| 10 | LEVOIT Cordless Vacuum Cleaner, Stick Vac with Tangle-Resistant Design, Up to 50 Minutes, Powerful Suction, Rechargeable, Lightweight, and Versatile for Carpet, Hard Floor, Pet Hair, LVAC-200 |
|
A Quick Guide to Preventing Future Errors
The best way to troubleshoot vacuum cleaner error codes is to prevent them from happening in the first place. A little regular maintenance goes a long way.
- Empty the bin after every major cleaning session. Don’t wait until it’s overflowing.
- Clean your filters on a monthly schedule. Set a reminder on your phone!
- Check the brush roll for hair and debris every couple of weeks.
- Store your cordless vacuum and battery in a cool, dry place away from direct sunlight.
Frequently Asked Questions (FAQ)
Why does my vacuum cleaner keep shutting off?
This is most often caused by overheating due to a blockage or a clogged filter. The vacuum’s thermal protector shuts the motor off to prevent damage. Let it cool down for at least an hour and then thoroughly check for clogs and clean the filters.
What does a flashing red light on my vacuum mean?
A flashing red light is a universal sign of a problem. On many cordless models, it indicates a battery issue (low charge, overheating, or fault). On other types, it can signal a blockage or a jammed brush roll. Always consult your specific model’s manual for the exact meaning.
Can I wash a HEPA filter?
It depends. Some HEPA filters are designed to be washable, while others are not. Washing a non-washable HEPA filter can ruin the fine mesh that traps allergens. Check your manual or the filter itself for a “washable” label. If it doesn’t say it’s washable, it’s safest to just tap it clean or replace it.
How do I reset my robot vacuum after an error?
Most robot vacuums can be reset by turning them off and on again. For a hard reset, you may need to press and hold the power button for 10-15 seconds. Some models have a specific reset button, or you may need to remove the battery for a minute. This often clears software glitches that can cause false error codes.
My vacuum has no suction but no error code is showing. What’s wrong?
Even without a code, a loss of suction power is almost always due to an airflow problem. Start with the basics: check for a full bin, dirty filters, and blockages in the hose and floor head. A crack in the hose can also cause a major loss of suction.
Your Vacuum is Smarter Than You Think
The next time your vacuum starts flashing lights at you, take a deep breath. It’s not broken; it’s communicating. By working through these simple diagnostic steps, you can solve the vast majority of issues on your own, saving you time, money, and a trip to the repair shop. Understanding how to troubleshoot vacuum cleaner error codes empowers you to keep your machine running at peak performance, ensuring your home stays cleaner and healthier for years to come. Now, go ahead and show that vacuum who’s boss.