That familiar, sinking feeling. You’re on a cleaning roll, conquering dust bunnies and pet hair, when you notice your trusty vacuum just isn’t pulling its weight anymore. The suction power has fizzled out, and it’s leaving more behind than it’s picking up. Before you panic, the solution is often incredibly simple. Knowing How To Replace Vacuum Cleaner Bag is a fundamental skill for any vacuum owner, and it’s the secret to restoring that satisfying, deep-cleaning performance. This isn’t just about swapping old for new; it’s about maintaining your machine’s health, improving your home’s air quality, and making your cleaning routine far more effective.
It’s easy to overlook this small task, but a full or clogged bag is one of the primary culprits behind poor performance. When your machine struggles to pull air through a dense wall of dirt, it can’t create the powerful suction needed to clean your floors. This is a common issue, and for those interested in troubleshooting further, it shares some symptoms with a loss of suction caused by other blockages. To learn more about that, exploring how to fix vacuum cleaner no suction can provide a broader understanding of your machine’s airflow system. For now, let’s get that bag changed and bring your vacuum back to life.
Why Bother Changing the Bag? More Than Just Dirt
You might be tempted to push it just one more room, but ignoring a full vacuum bag is a bad idea. Think of it like trying to breathe with a stuffy nose – it just doesn’t work well. A vacuum cleaner relies on a constant stream of air to create suction. When the bag is full, that airflow is choked off.
Here’s what happens:
- Drastic Drop in Suction Power: This is the most obvious sign. The motor is working overtime, but the air can’t move freely, leaving dirt and debris behind on your carpets and hard floors.
- Motor Strain and Overheating: Forcing the motor to work against this blockage generates excess heat. Over time, this can lead to permanent damage and a much costlier repair bill. It’s a preventable problem, unlike a machine that completely stops working, which might require a different diagnostic approach. If you ever face that situation, understanding how to fix vacuum cleaner not turning on will be your next step.
- Poor Air Quality: A full bag can’t effectively trap fine dust, pollen, and allergens. Instead, these microscopic particles can be forced through the bag’s pores and blown right back into your living space, which is bad news for anyone with allergies or asthma.
When Should You Replace a Vacuum Cleaner Bag?
There’s no single, one-size-fits-all answer, as it depends on your home, but there are clear signals your vacuum will give you. Don’t wait until it’s bursting at the seams.
Telltale Signs It’s Time for a Change
- The Obvious “Full” Line: Most bags have a “MAX FILL” line printed on them. Once the debris reaches that mark, it’s time for a change. Always err on the side of changing it a bit early.
- A Noticeable Loss of Suction: If you’re going over the same spot multiple times, your bag is the first thing you should check.
- The Vacuum Spits Dirt Back Out: When there’s no more room inside, the vacuum may start pushing debris back onto your floor as you turn it off.
- A Musty or Dirty Smell: A bag packed with old food crumbs, pet dander, and dust will eventually start to smell. If your vacuum emits an unpleasant odor, the bag is a likely source.
- The Indicator Light is On: Many modern vacuums have a handy indicator light that turns on when the bag is full and airflow is restricted. Trust it!
Finding the Right Replacement Bag: A Perfect Match is Key
Using the wrong bag is like wearing shoes that are two sizes too small—it just won’t work properly. An ill-fitting bag can come loose, creating a massive dust cloud inside your vacuum’s compartment and potentially damaging the motor.
Your Guide to the Right Bag
- Check Your Manual: This is the most reliable source. Your vacuum’s user manual will list the exact model number or type of bag you need.
- Look at the Old Bag: The bag itself usually has the model number printed on it. Take a picture or write it down before you throw it away.
- Check the Vacuum Itself: Often, the required bag type is printed on a sticker inside the bag compartment or on the bottom of the machine.
- OEM vs. Generic:
- OEM (Original Equipment Manufacturer): These are bags made by the same company that made your vacuum (e.g., Hoover, Miele, Kenmore). They guarantee a perfect fit and optimal performance.
- Generic/Compatible: These are third-party bags designed to fit your model. They are often cheaper but can vary in quality. Look for high-filtration or HEPA-style generic bags for better results.
“A common mistake we see is users forcing the wrong bag to fit. The cardboard collar must sit perfectly flush against the machine’s intake port. Any gap, no matter how small, allows dust to bypass the bag and go straight into the motor, which is the fastest way to kill your vacuum.” – David Miller, Senior Product Engineer
|
Our Picks for the Best Vacuum Cleaner in 2026
As an Amazon Associate, we earn from qualifying purchases.
|
||
| Num | Product | Action |
|---|---|---|
| 1 | BLACK+DECKER dustbuster QuickClean Cordless Handheld Vacuum, Car Vacuum Portable (HNVC215B10) |

|
| 2 | BISSELL CleanView Compact Upright Vacuum, Fits in Dorm Rooms & Apartments, Lightweight with Powerful Suction and Removable Extension Wand, 3508 |
|
| 3 | LEVOIT Cordless Vacuum Cleaner, Stick Vac with Tangle-Resistant Design, Up to 50 Minutes, Powerful Suction, Rechargeable, Lightweight, and Versatile for Carpet, Hard Floor, Pet Hair, LVAC-200 |
|
| 4 | Shark HV322 Rocket Deluxe Pro Corded Stick Vacuum with LED Headlights, XL Dust Cup, Lightweight, Perfect for Pet Hair Pickup, Converts to a Hand Vacuum, with Pet Attachments, Bordeaux/Silver |
|
| 5 | Shark | Upright Vacuum Cleaner | Navigator Lift-Away | Swivel Steering | HEPA Filter | Vacuum for Pet Hair | Crevice Tool & Dusting Brush Included | For Carpets & Hard Floors | White/Silver | NV356E |
|
| 6 | Amazon Basics Upright Bagless Vacuum Cleaner for Carpet and Hard Floors, With Crevice and Upholstery Tools, Detachable Handle, Lightweight (8.4 lbs), 1.7L Dust Cup, 720W, 25ft Cord, Black/White |
|
| 7 | BISSELL CleanView Compact Turbo Upright Vacuum with Quick Release Wand, Full Size Power, Compact Size for Apartments & Dorms, 3437F |
|
| 8 | Shark NV352 Navigator Lift Away Upright Vacuum, Hepa Filter, Anti-Allergen Technology, Swivel Steering, Ideal for Carpet, Stairs, & Bare Floors, with Wide Upholstery & Crevice Tools, Lavender |
|
| 9 | BLACK+DECKER dustbuster AdvancedClean Cordless Handheld Vacuum, Compact Home and Car Vacuum with Crevice Tool (CHV1410L) |
|
| 10 | Shark | Pet Cordless Vacuum Cleaner | LED Headlights | Removable Handheld Vacuum for Pet Hair | Crevice Tool & Pet Multi-Tool Included | 40min Runtime | For Carpet & Hard Floors | Grey | IX141 |
|
How to Replace Vacuum Cleaner Bag: A Step-by-Step Guide
Ready to get your hands dirty? Just kidding—if you do it right, it’s a surprisingly clean process. Before you start, always unplug your vacuum from the wall outlet. Safety first!
For an Upright Vacuum Cleaner
Upright models typically house the bag in a zippered compartment on the front of the machine.
- Access the Bag Compartment: Lay the vacuum down gently or stand it upright. Unzip or unlatch the front cover to expose the bag.
- Remove the Old Bag: The bag is usually held in place by a cardboard collar that slides into a holder or clips on. Carefully slide the collar off the intake port. Some bags have a small adhesive tab to seal the hole shut—use it to prevent a dust puff.
- Dispose of the Old Bag: Gently place the full bag directly into a trash can.
- Prepare the New Bag: Unfold the new bag completely. Make sure it’s not creased or crumpled, as this can affect airflow.
- Install the New Bag: Align the cardboard collar with the holder and slide it firmly into place. Ensure it’s fully seated and secure. It should click or snap into position. Tug it gently to make sure it’s locked in.
- Tuck and Close: Neatly tuck the new, empty bag into the compartment, making sure it isn’t pinched or folded over. Zip or latch the cover securely.
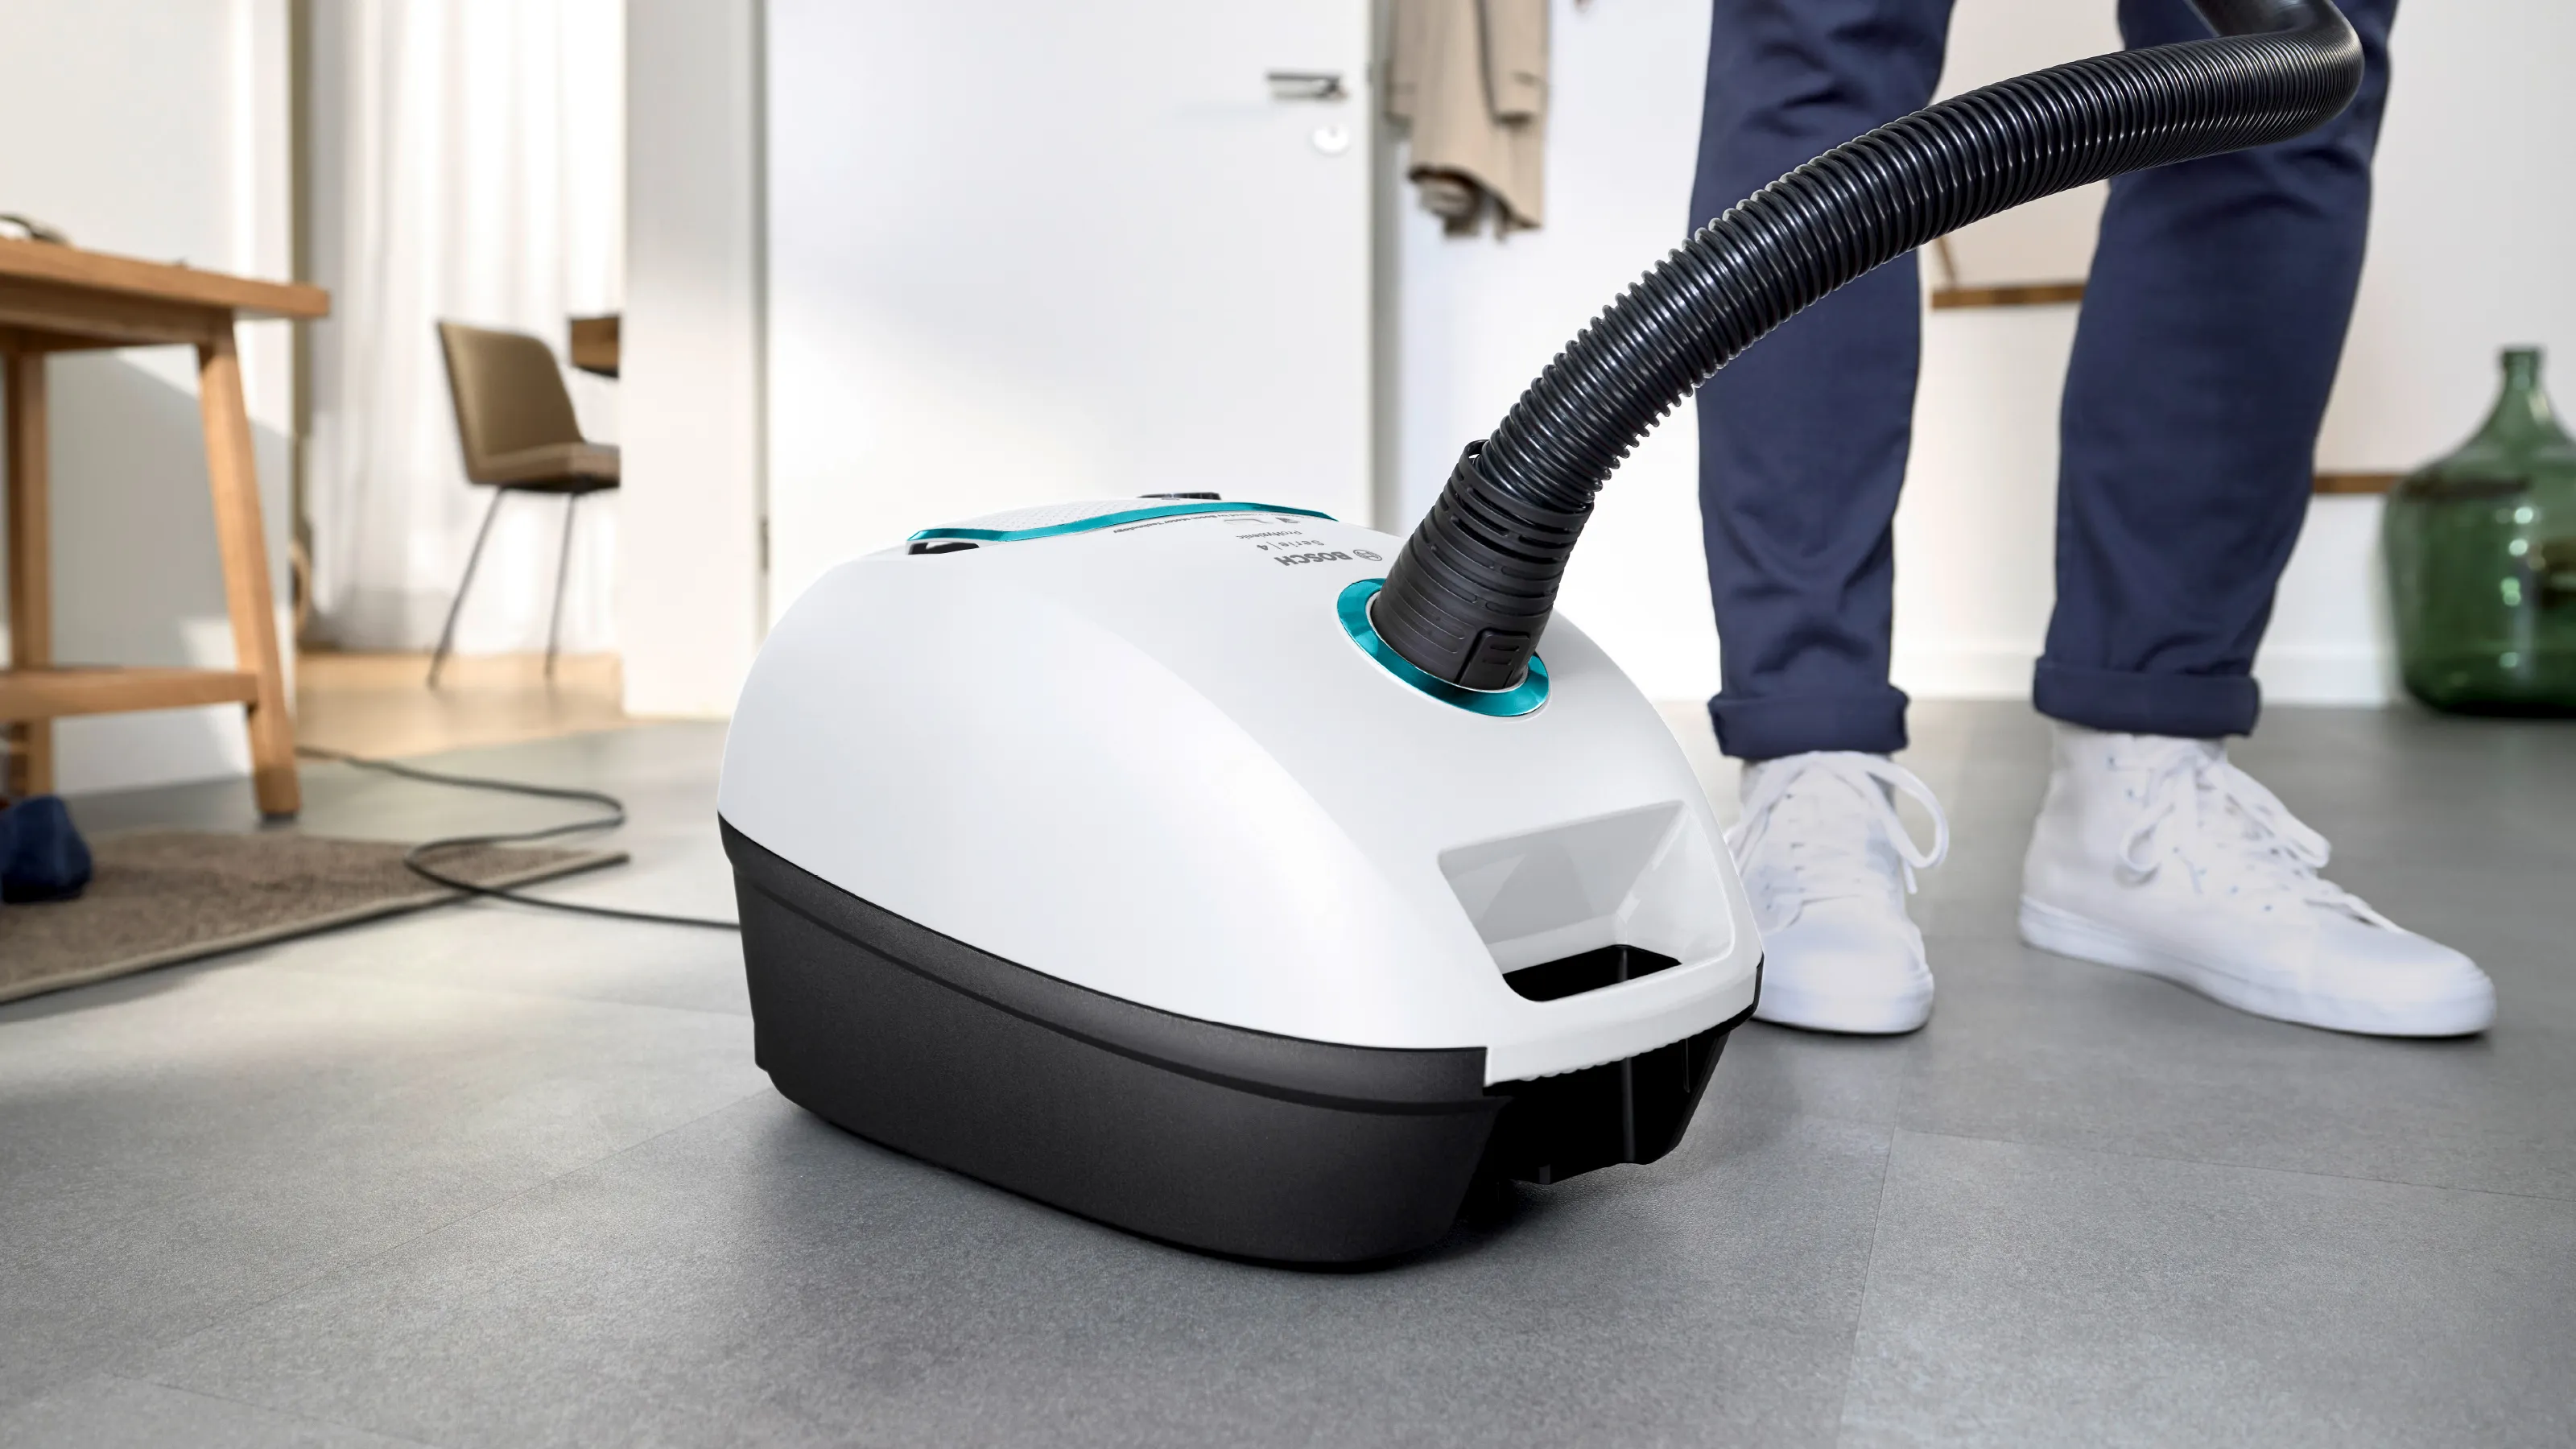
For a Canister Vacuum Cleaner
Canister vacuums house the bag inside the main body of the unit.
- Open the Canister: Find the latch or button that opens the main compartment where the motor and bag are located. This is usually on the top or side.
- Locate and Remove the Bag: Similar to an upright, the bag will be attached to an intake port via a plastic or cardboard collar. Slide it out carefully. Again, use the self-sealing tab if one is provided.
- Quick Check-Up: With the bag out, this is a great time to check the pre-motor filter, which is often located right behind the bag. Give it a tap over the trash can to dislodge any excess dust.
- Install the New Bag: Slide the new bag’s collar into the designated slot until it clicks. Give it a gentle pull to confirm it’s secure. The bag should hang freely inside the compartment.
- Close the Lid: Close the canister lid, making sure it latches shut completely. Most models will not operate if the lid isn’t closed properly.
Congratulations! You’ve just performed one of the most important pieces of vacuum maintenance. Plug it back in, turn it on, and enjoy that restored suction power. The difference is often night and day, especially when dealing with stubborn messes. Properly maintaining your machine is crucial for tasks like cleaning up after pets, and for more specific advice, learning how to vacuum pet hair properly can make a world of difference in a home with furry friends.
Frequently Asked Questions (FAQ)
How often should I change my vacuum bag?
Change it when it’s about two-thirds full or when you notice a drop in suction. For an average household, this might be every 1 to 3 months. Homes with pets or thick carpets may need to change it more frequently.
Can I reuse or empty a disposable vacuum bag?
No, you should never reuse a disposable bag. They are designed for single use. The tiny pores in the bag material get clogged with fine dust, which you can’t effectively remove. Reusing a bag will severely limit airflow and filtration, and trying to empty it is an incredibly messy job.
What happens if I run the vacuum without a bag?
Never do this! Running a bagged vacuum without a bag allows all the dirt, dust, and debris to go directly into the motor. This will almost certainly cause catastrophic damage to the motor and void your warranty.
Does a HEPA bag make a difference?
Yes, a huge difference! HEPA (High-Efficiency Particulate Air) bags capture 99.97% of particles as small as 0.3 microns, including dust mites, pollen, and pet dander. If anyone in your home suffers from allergies, upgrading to HEPA bags is highly recommended.
My vacuum still has low suction after changing the bag. What’s wrong?
If a new bag doesn’t solve the problem, you likely have a clog somewhere else. Check the hose, wand, and the brush head for obstructions. You may also need to clean or replace your vacuum’s other filters.
A Breath of Fresh Air for Your Home
Mastering how to replace vacuum cleaner bag is more than just a chore; it’s an investment in the performance and longevity of your appliance. It ensures you’re getting the deepest clean possible, protecting your machine’s motor from strain, and contributing to cleaner, healthier air in your home. So next time you feel that suction start to fade, you’ll know exactly what to do. Take those five minutes, swap out that bag, and get back to enjoying a truly clean space.